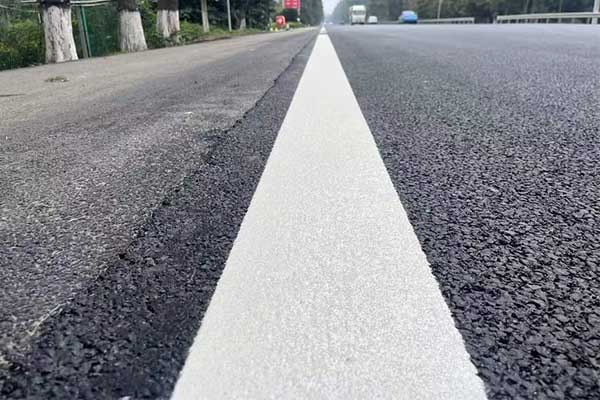
How to Apply Thermoplastic Road Marking Paint?
Thermoplastic road marking paint is a widely used solution for creating durable and highly visible road markings. Its long lifespan and resistance to wear make it ideal for high-traffic areas. Proper application is essential to ensure safety, compliance, and performance. This article provides a comprehensive guide to applying thermoplastic road marking paint effectively.

What is Thermoplastic Road Marking Paint?
Thermoplastic road marking paint is a blend of synthetic resin, pigments, and glass beads, which enhance reflectivity. It is applied in a molten state and hardens upon cooling, creating a tough and durable surface. This type of paint is commonly used for lane dividers, pedestrian crossings, and parking lot lines.
Step-by-Step Process for Applying Thermoplastic Road Marking Paint
1. Preparation and Planning
Before starting the application process, proper preparation is key:
- Assess the Surface: Ensure the road surface is clean, dry, and free from debris. Any oil or grease should be removed to ensure adhesion.
- Measure and Mark: Use chalk or temporary paint to outline the areas where the thermoplastic paint will be applied. Double-check measurements to ensure compliance with local regulations.
- Safety First: Set up warning signs, cones, and barriers to divert traffic and ensure worker safety.
2. Gather the Necessary Equipment
The following tools and materials are required:
- Thermoplastic Paint: Available in pre-formed sheets, blocks, or powders.
- Thermoplastic Road Marking Machine: A specialized machine to apply the molten paint.
- Thermoplastic Preheater: To melt the paint to the required temperature (around 200°C or 392°F).
- Hand Tools: Such as scrapers, brushes, and measuring tapes.
- Glass Beads: To sprinkle for increased reflectivity.
3. Heat the Thermoplastic Paint
Using a preheater, melt the thermoplastic paint to its recommended temperature.
- Stir Constantly: Ensure even heating and prevent burning.
4. Apply the Thermoplastic Paint
- Load the Machine: Pour the molten thermoplastic into the road marking machine.
- Start Application: Slowly guide the machine along the pre-marked lines. Ensure consistent thickness (2–4 mm is standard).
- Sprinkle Glass Beads: For enhanced reflectivity, sprinkle additional beads on the surface while the paint is still hot.
5. Curing and Inspection
- Allow the paint to cool and harden, which usually takes a few minutes, depending on environmental conditions.
- Inspect the markings for consistency, adherence, and visibility. Any imperfections can be corrected by reheating and smoothing out the surface.

Tips for Best Results
- Temperature Matters: Maintain the correct application temperature to avoid issues like cracking or poor adhesion.
- Weather Conditions: Apply thermoplastic paint in dry weather with an ambient temperature of at least 10°C (50°F).
- Compliance: Ensure all markings meet local regulations and standards for dimensions, colors, and reflectivity.
Conclusion
Applying thermoplastic road marking paint is a precise process that requires preparation, the right tools, and technical know-how. By following these steps, you can achieve professional-grade results that enhance road safety and visibility.
Looking for High-Quality Thermoplastic Paint?
Our company specializes in road marking materials and equipment, ensuring that you have everything you need for successful applications. Contact us today for expert guidance and premium products!

