
How to Paint Different Types of Road Markings?
Painting road markings is an essential part of road maintenance and safety. Different types of road markings serve various purposes, such as guiding traffic, indicating lanes, and warning drivers about potential hazards. Below are instructions for painting some common types of road markings:
1. Centerlines and Lane Dividers
Materials:
You will need white or yellow road paint, a road marking machine, measuring tape, and stencils (if needed).
Procedure:
- Measure and mark the desired positions for the centerlines or lane dividers using chalk or masking tape.
- Load the road marking machine with the appropriate color paint (yellow for centerlines, white for lane dividers).
- Align the machine with the marked positions and follow the machine’s instructions to paint the lines.
- Ensure the lines are straight, evenly spaced, and have consistent width.
2. Crosswalks
Materials:
White or yellow road paint, a crosswalk stencil (if needed), measuring tape, and a road marking machine.
Procedure:
- Measure and mark the location of the crosswalk using chalk or masking tape.
- Position the crosswalk stencil, if you have one, at the desired location.
- Load the road marking machine with white or yellow paint, depending on local regulations.
- Follow the machine’s instructions to paint the crosswalk lines.
- Ensure the lines are evenly spaced and meet local specifications for width and length.
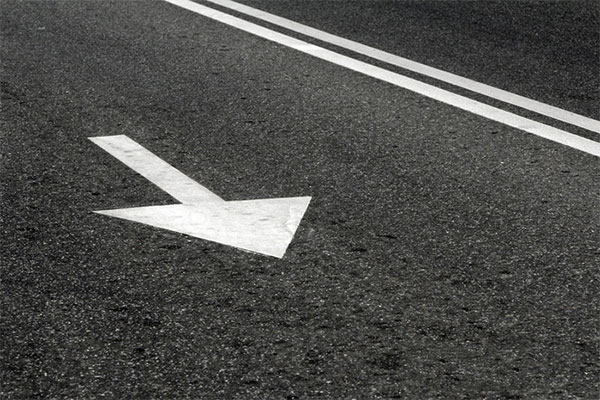
3. Stop Lines and Arrows
Materials:
White road paint, a stop line stencil, arrow stencils (if needed), measuring tape, and a road marking machine.
Procedure:
- Measure and mark the location of the stop line using chalk or masking tape.
- Position the stop line stencil at the desired location.
- Load the road marking machine with white paint.
- Follow the machine’s instructions to paint the stop line.
- For arrows, use arrow stencils to mark turning lanes, and follow a similar procedure as for stop lines.
- Ensure the lines and arrows are clearly visible and comply with local regulations.
4. School Zones and Speed Limit Markings
Materials:
Yellow road paint, white road paint, measuring tape, and a road marking machine.
Procedure:
- Measure and mark the school zone or speed limit area.
- Load the road striping machine with the appropriate color paint (yellow for school zones, white for speed limits).
- Follow the machine’s instructions to paint the designated markings.
- Ensure the markings are clear, properly spaced, and comply with local regulations.
Conclusion:
Always follow local guidelines and regulations when painting road markings. It’s important to use the right materials, equipment, and techniques to ensure road safety and compliance with the law. If you’re not experienced in road marking, consider hiring professionals who specialize in this type of work to ensure accuracy and safety.